Purchase and Access Databricks Lab Environment
Overview
This document covers two sections: first, how to Purchase the Databricks Lab Environment via the CloudLabs Marketplace; second, how to activate and use your Databricks Lab Environment following a successful purchase.
Purchase Databricks Lab Environments through CloudLabs Marketplace
With the assistance of this document, you can purchase the Databricks Lab Environments from the CloudLabs Marketplace. You can select and purchase from a range of offerings that have different duration options on the CloudLabs Marketplace, depending on your needs.
Navigate to https://marketplace.cloudlabs.ai/ to get started with the Databricks Lab Environment purchase process through CloudLabs Marketplace.
Depending on who you are, please choose between the two options here: Purchase for Academics and Purchase for Professionals. Academics are made consist of Faculty and individual Learner.
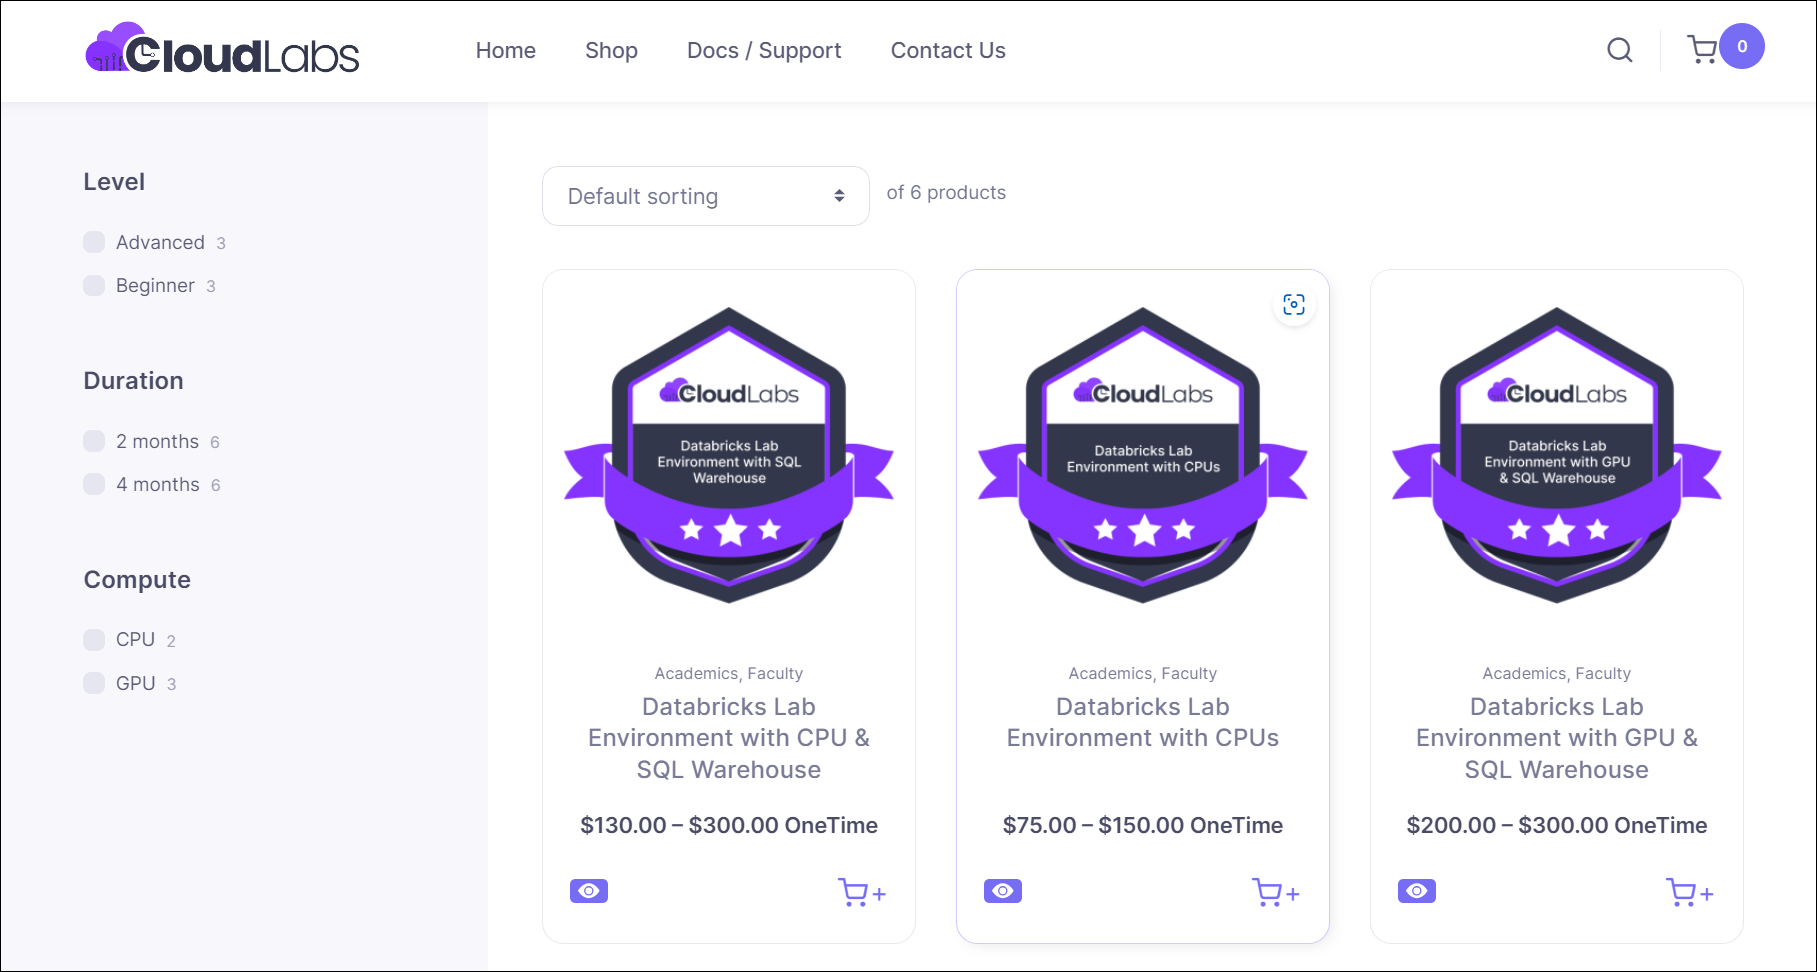
You can now view the list of Databricks Lab Environment Offerings on this page. You can select an offering and move on to the purchasing process based on the requirements.
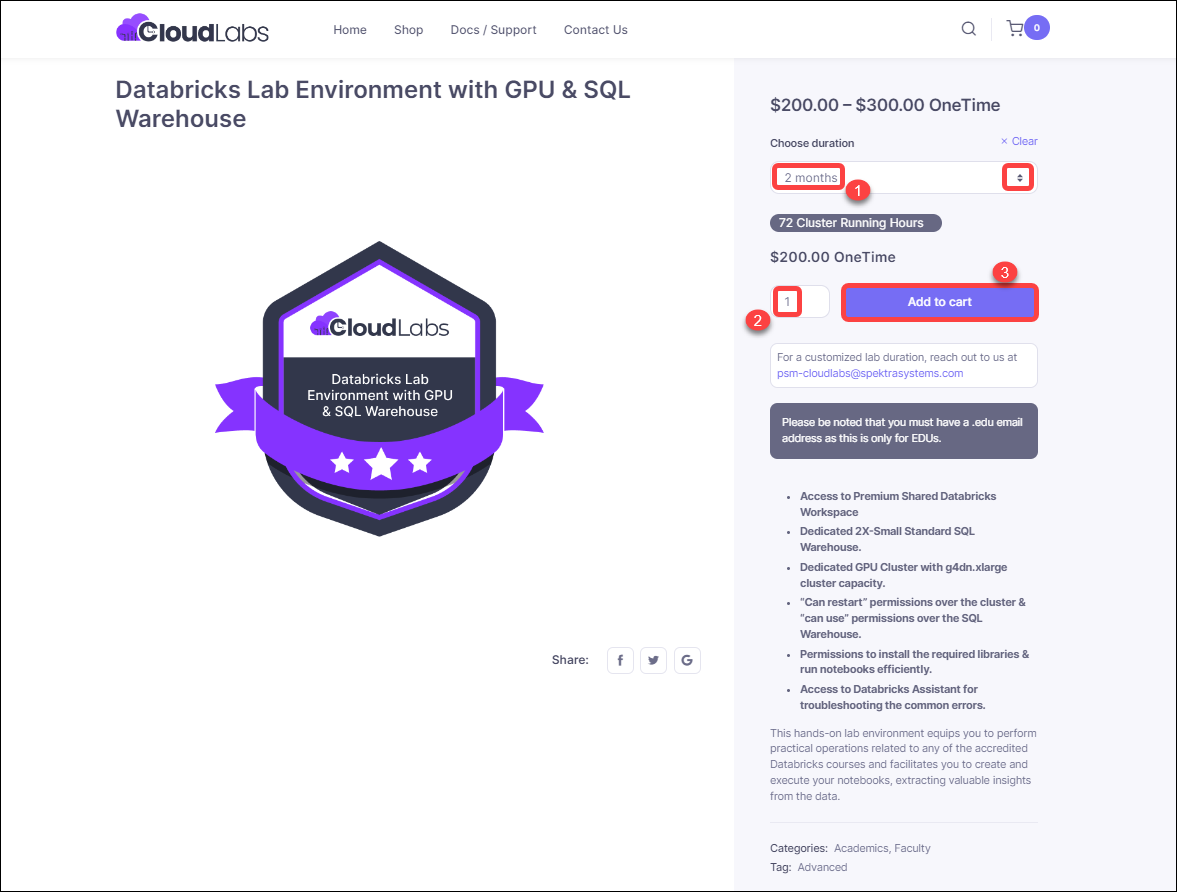
Now you will see the Description of the Databricks Environment Offering in addition to the other options listed below:-
Choose Duration: There are two options available to you for the duration: 72 Cluster Running Hours for two months, and 136 Cluster Running Hours for four months. Please select an option from the drop-down menu. In case if you want a customized lab duration, connect with us at psm-cloudlabs@spektrasystems.com
Select Quantity: You can select one if you are buying for yourself as a learner, or you can select multiples if you are buying on behalf of your institute as faculty.
Add to cart: You can proceed to Add it to your cart after selecting the necessary quantity and duration.
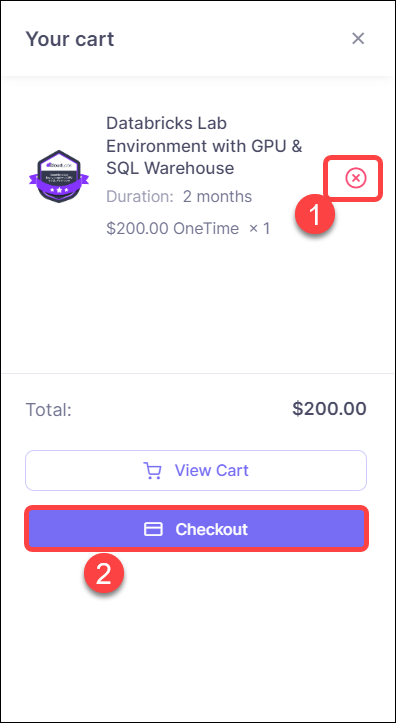
Click View Cart to confirm the added offering after you've added the necessary one to your cart.

If you mistakenly added the incorrect offering to your cart, you can remove(1) it here, else you can proceed with the Checkout(2)
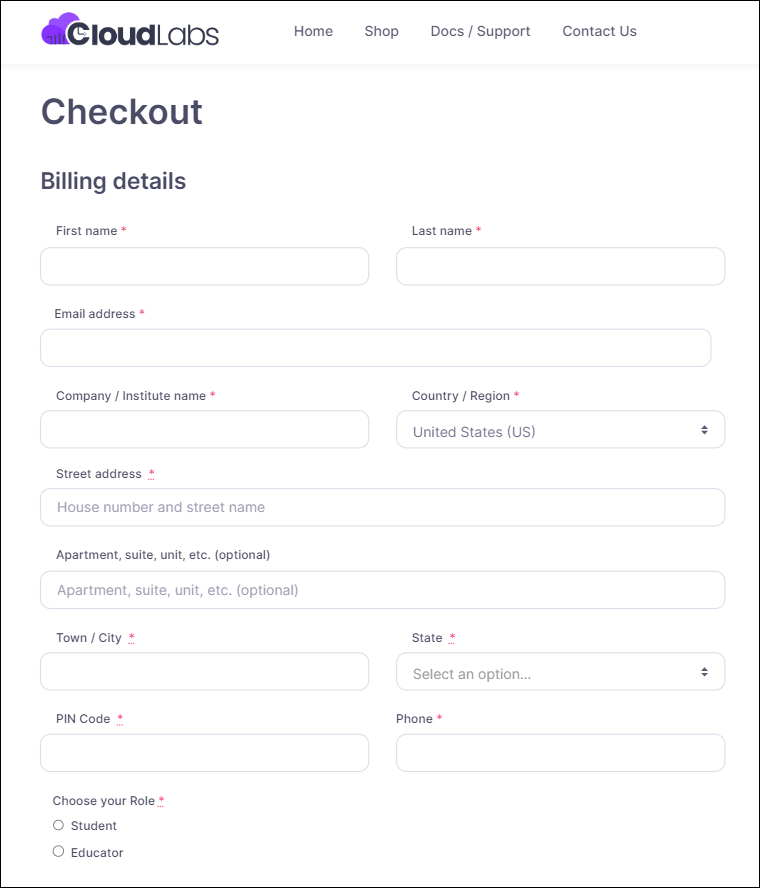
On the Checkout page, you will need to provide the Billing details. Please Note:- If you are purchasing for Academics you must have a .edu email address as this is only for Academics.
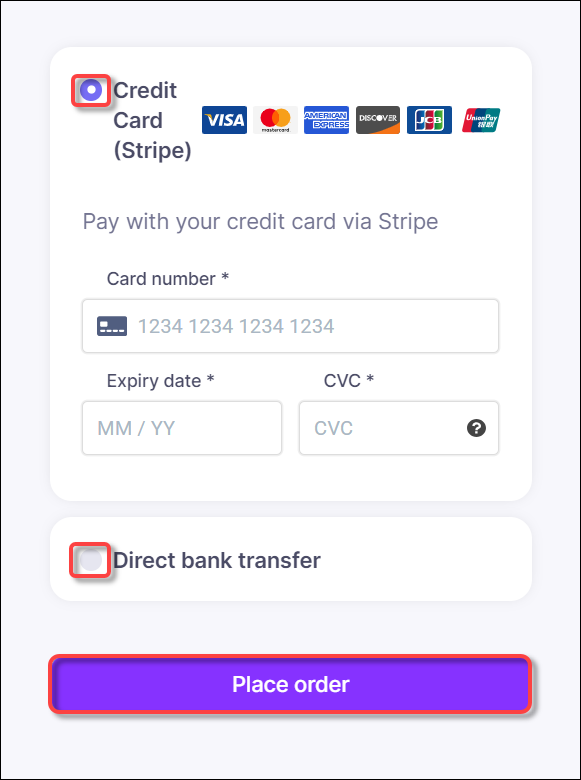
The next step is to select a Payment Method. You have two options:- you can pay via a Credit Card (stripe) or an offline Bank Transfer mode. Select your preferred method of payment and click Place order.
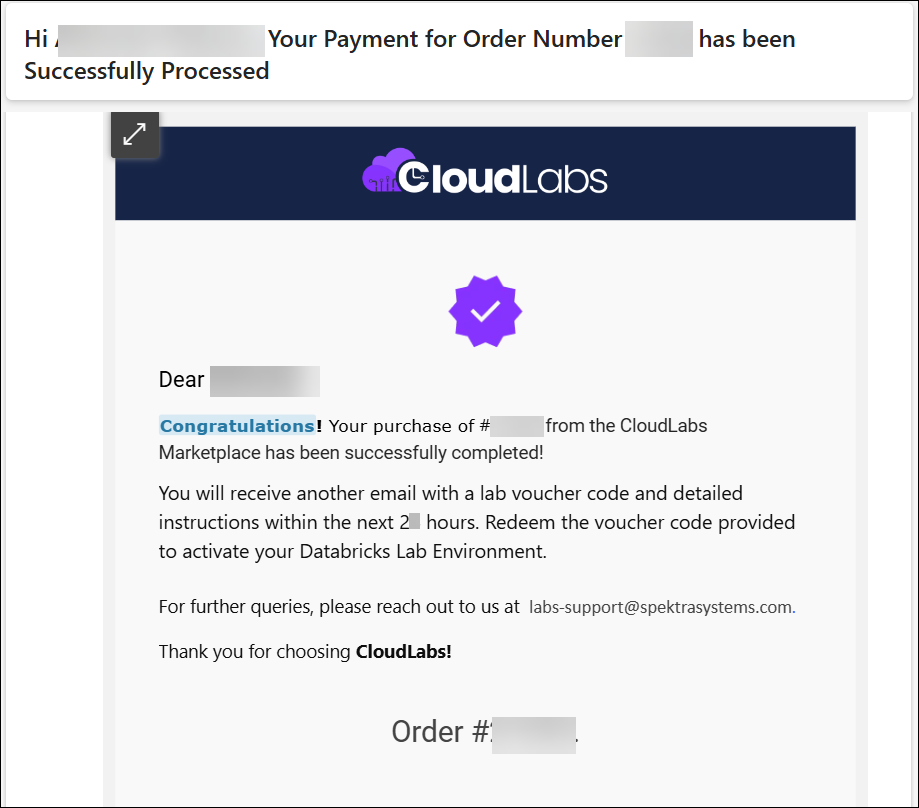
Once you proceed with the payment method, a screen and message similar to this one will appear. Please Note:- If you selected Credit Card (stripe) method then you will be recieveing an email with in 2 hours with a voucher code to activate your Databricks Lab Environment. If you selected Bank Transfer as payment option, CloudLabs sales team will share the invoice and bank transfer details for you to complete the payment.

Additionally, you will receive a confirmation email from CloudLabs Marketplace, as indicated below:-
Email for the Payment method: Credit Card
Email for the Payment method: Bank Transfer

Activate and Access Databricks Lab Environment
Overview
With the assistance of this document, you will learn how to activate and access your Databricks Lab Environment after the purchase has successfully completed.
Follow the steps below to Activate and Access your Databricks Lab Environment
Check your Inbox in the e-mail address provided by you while making a purchase, you would have received an e-mail with your voucher code & URL for redeeming it. Please check the SPAM/JUNK folder in case you cannot find the email.
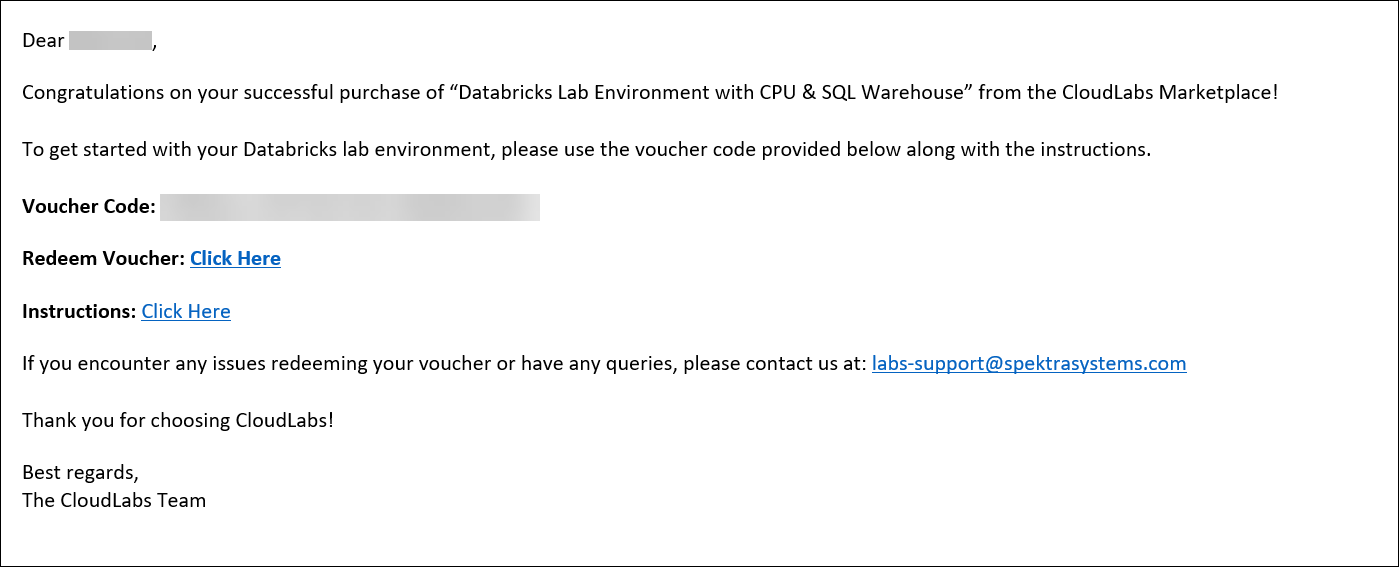
Copy and save your Voucher Code in a notepad. To redeem your voucher code, navigate to https://portal.cloudlabs.ai/redeem-code and login in to the CloudLabs Portal. To redeem the voucher code, you can also visit CloudLabs Portal by clicking the URL that was included in the email.

- You get multiple options to login, we've SSO support for Azure AD aka O365 accounts (Work or School Account), Microsoft, LinkedIn and Google Account.
- Select a login option from the list, enter your credentials, and proceed.
3.1 Sign in using Work or School account: If you've Work or School account, choose this option and provide your Username and click on Next. Then enter your Password and click on the Sign in button.

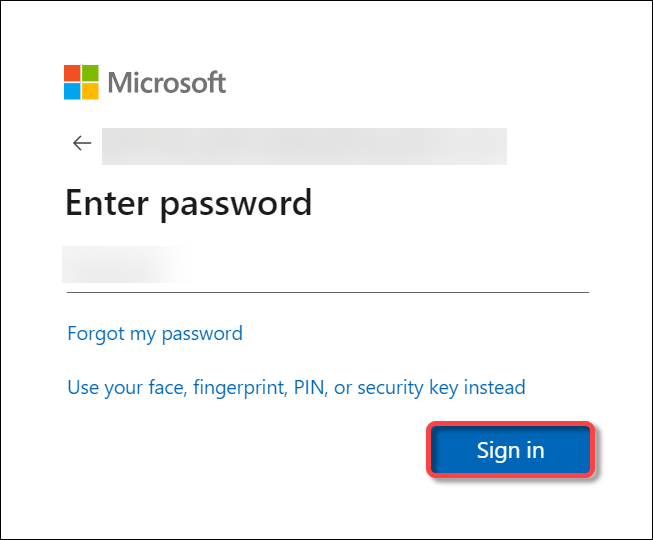
3.2 Sign in using Microsoft Account: If you've Microsoft account, choose this option and provide your Username and click on Next. Then enter your Password and click on the Sign in button.
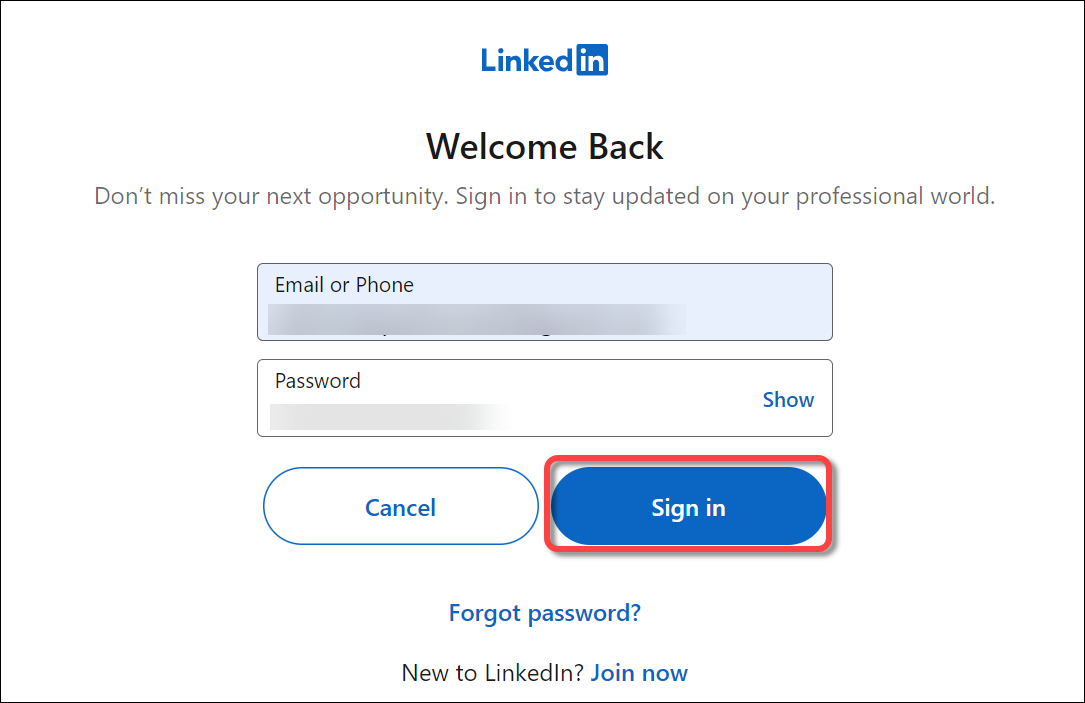
3.3 Sign in using LinkedIn Account: Provide your LinkedIn credentials and click on Sign in
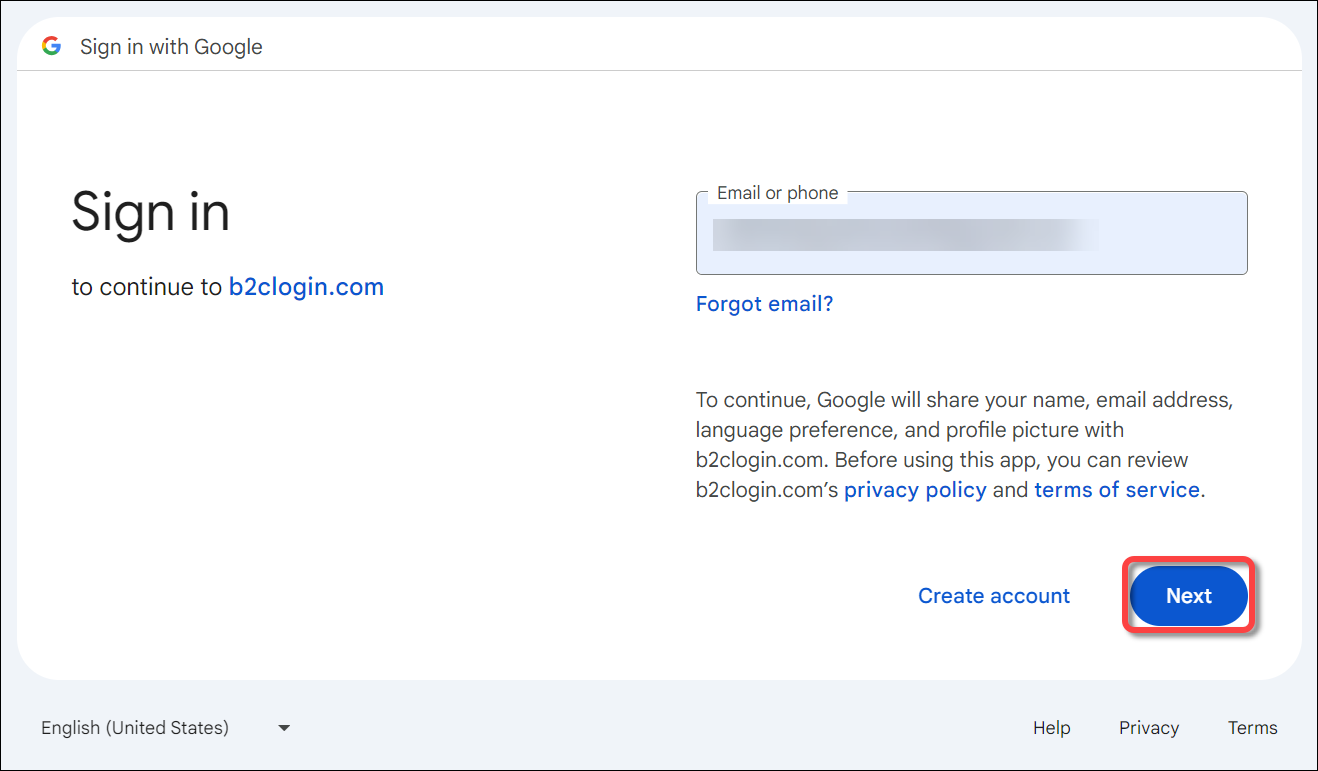
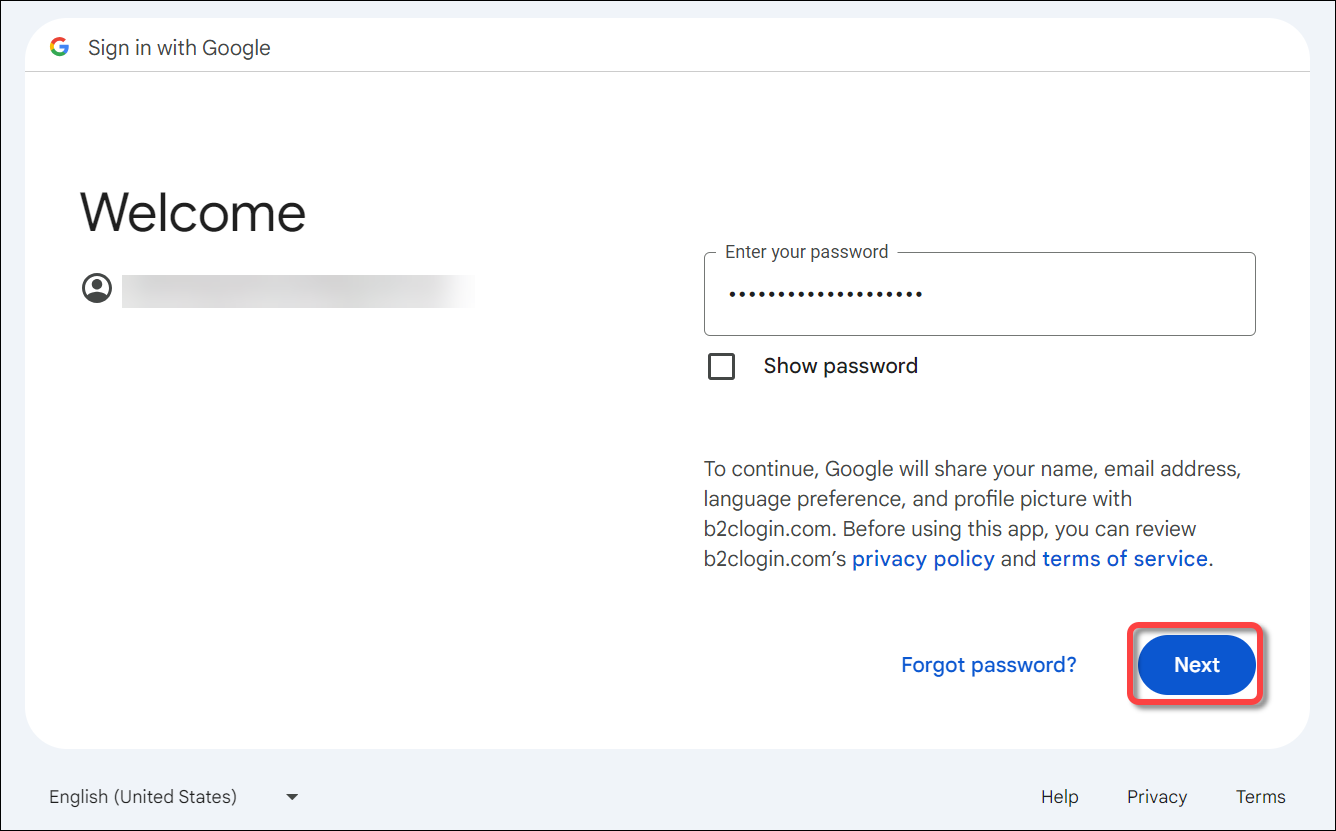
3.4 Sign in using Google Account: If you've Google account, choose this option and provide your email address and click on Next. Then enter your Password and click on Next.
If you do not have one of the above accounts, you can sign up with CloudLabs in order to continue.
Click on the Sign up now option available in the end of the login page to get account created.

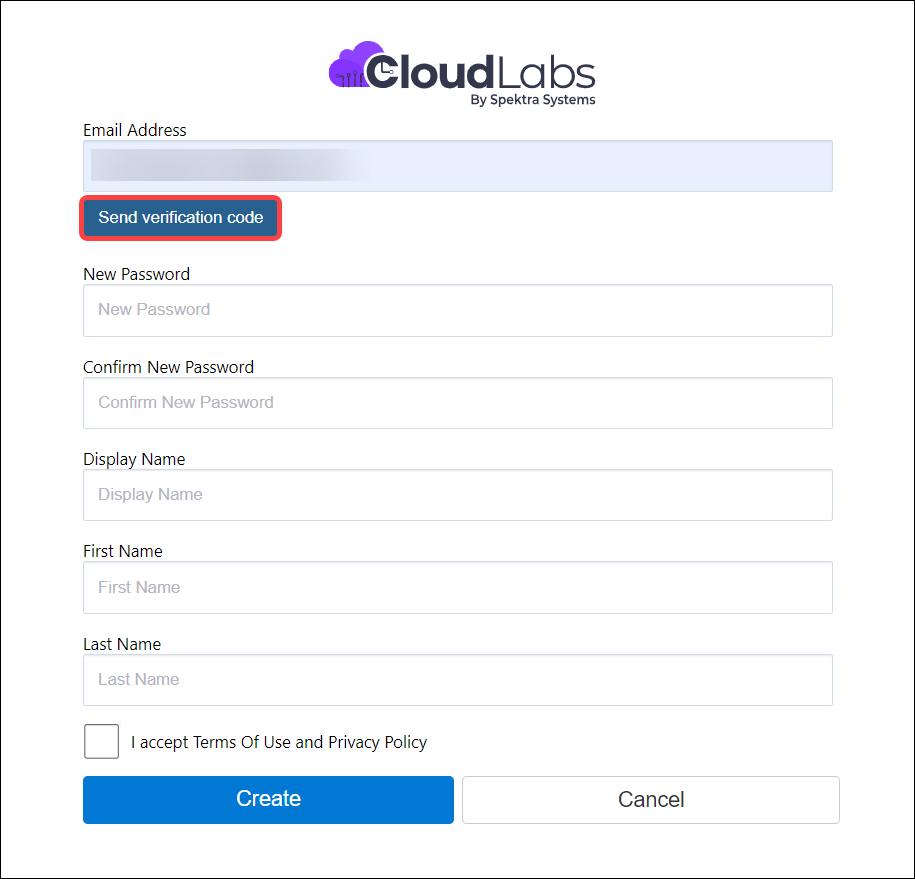
Enter an Email Address now, click Send verification code. Other fields are not required to be filled in; they will be filled after you receive the verification code.
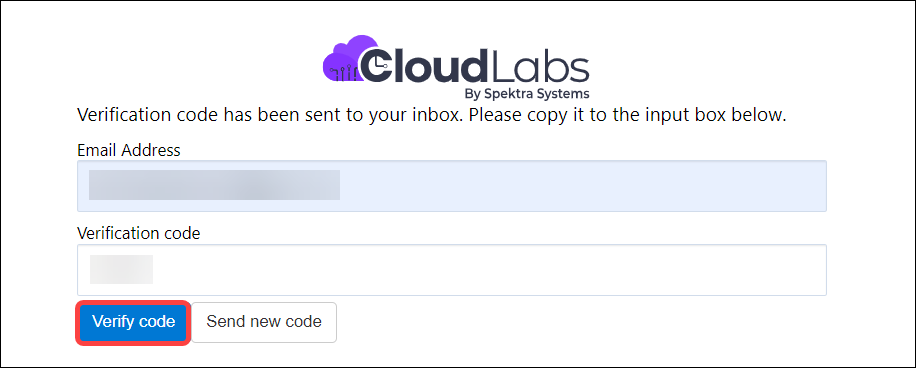
Provide the verification code you recieved over the email and click Verify code
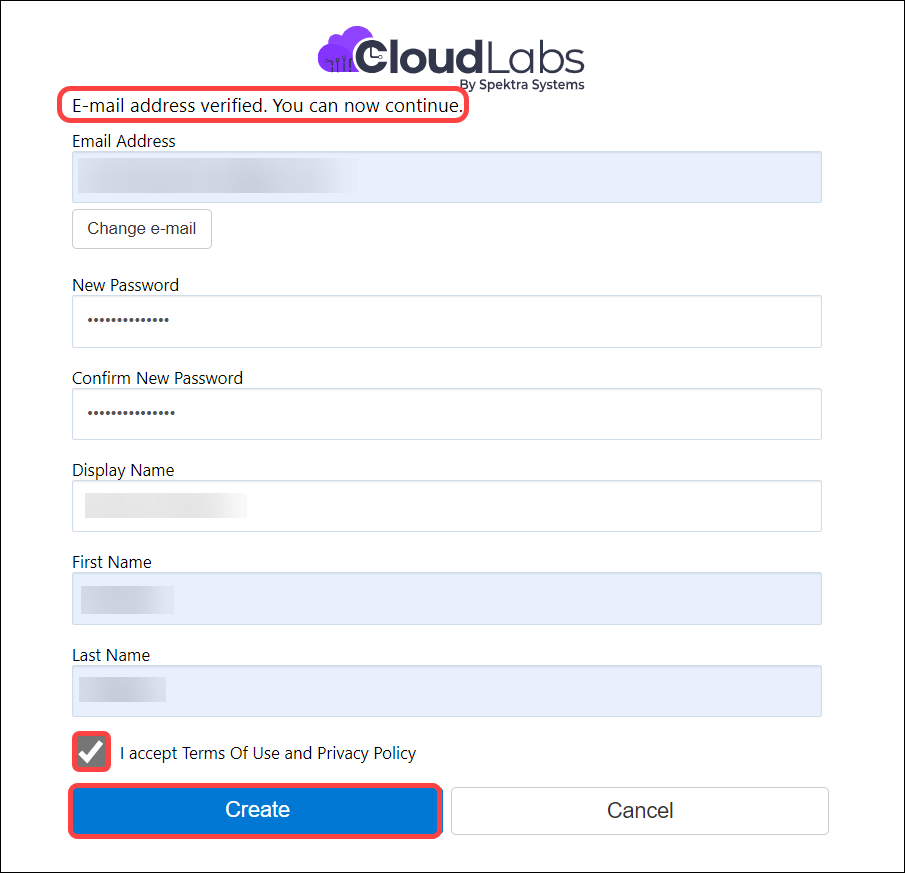
After the verification process is successful, you can create this account by entering the necessary details, choosing a password, and clicking the Create button.
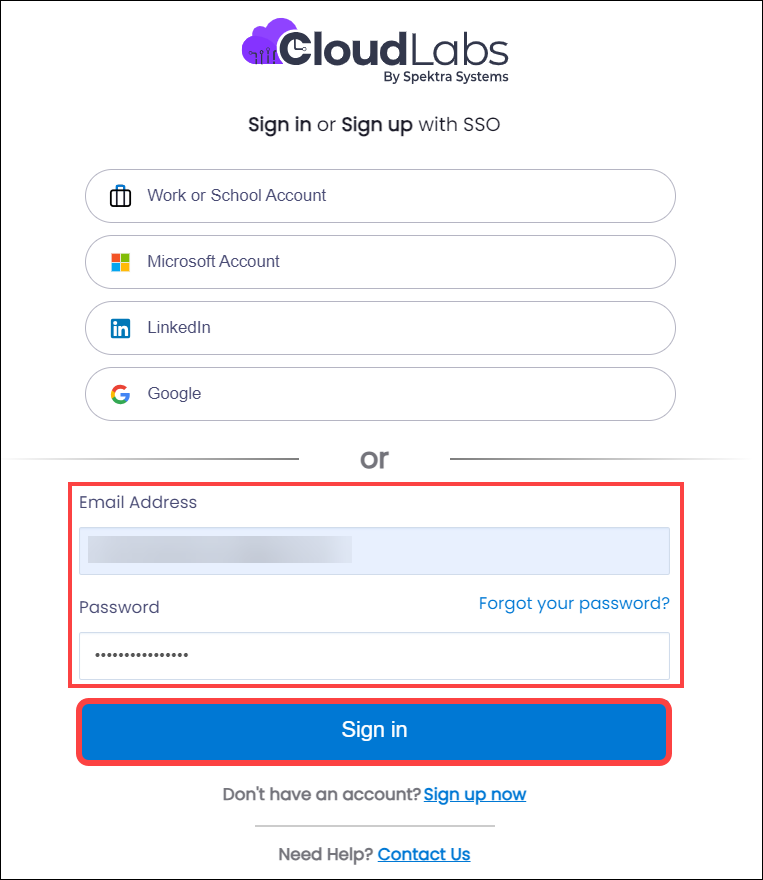
Sign in with the email adress and password you created in the previous step and click Sign in.
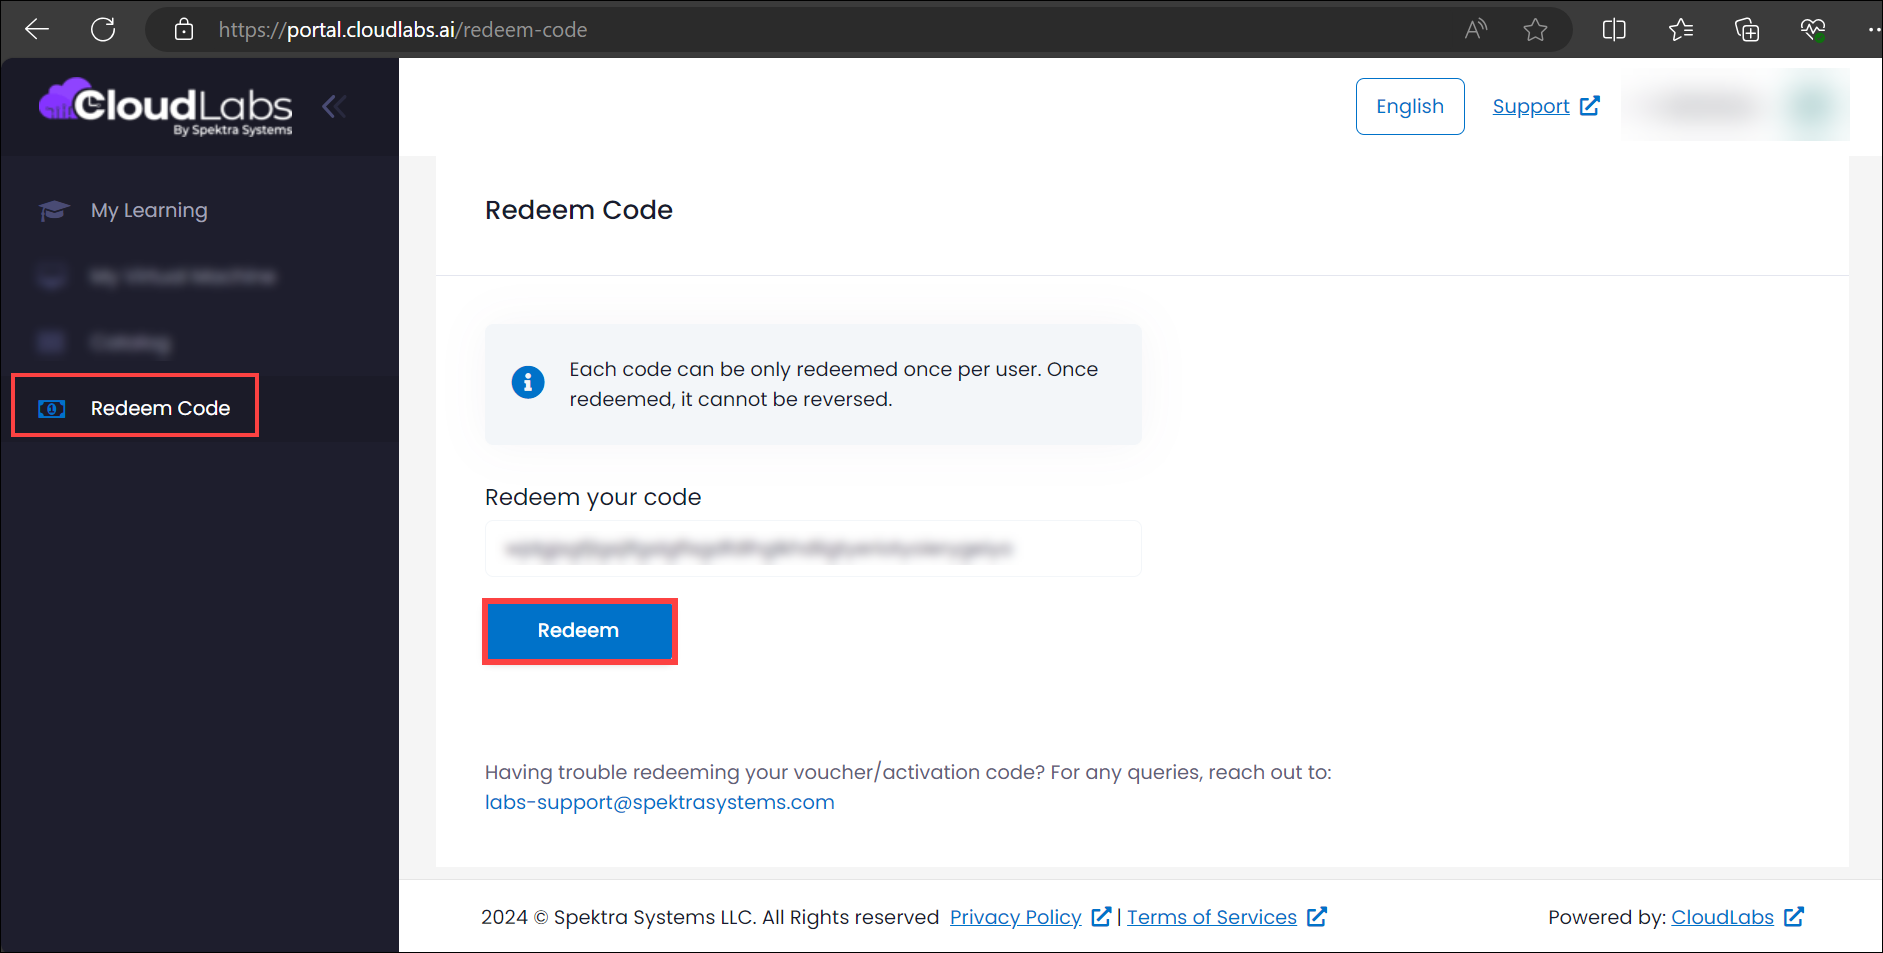
You will be able to access CloudLabs Portal and see the Redeem Voucher option after successfully logging in.
Enter your Voucher Code there and press the Redeem button.
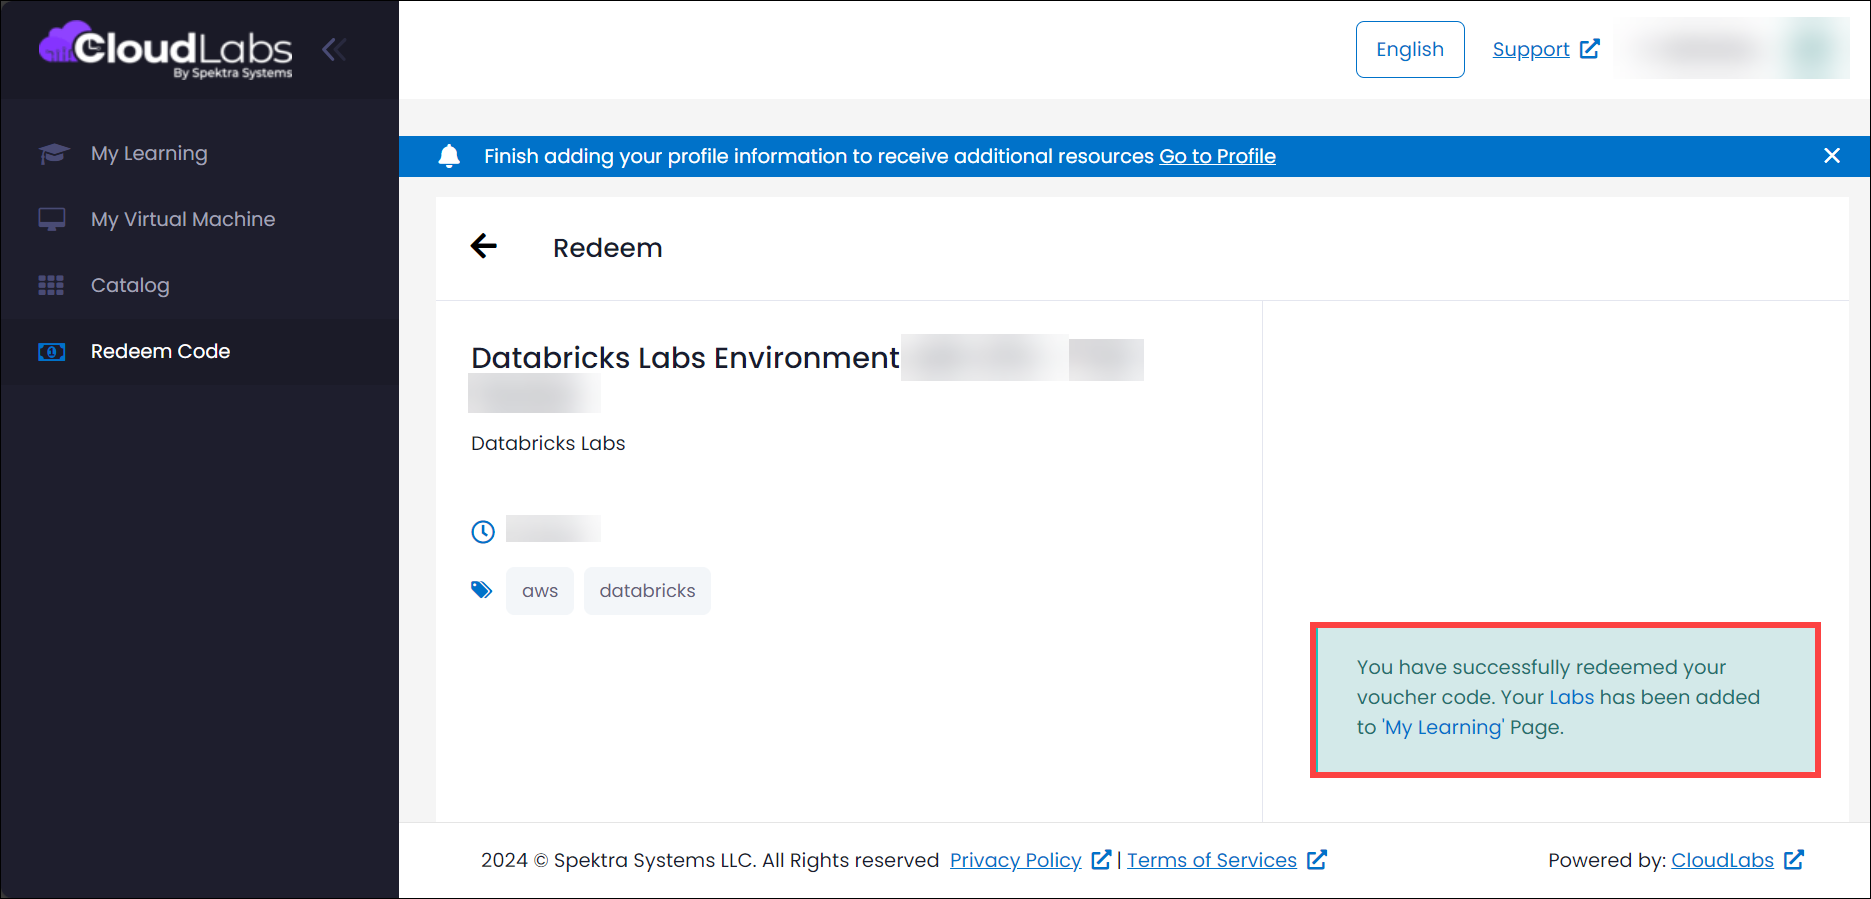
You will receive a notification saying, "You have successfully redeemed your voucher code," after successfully redeeming the voucher. Your Labs has been added to My Learning Page"
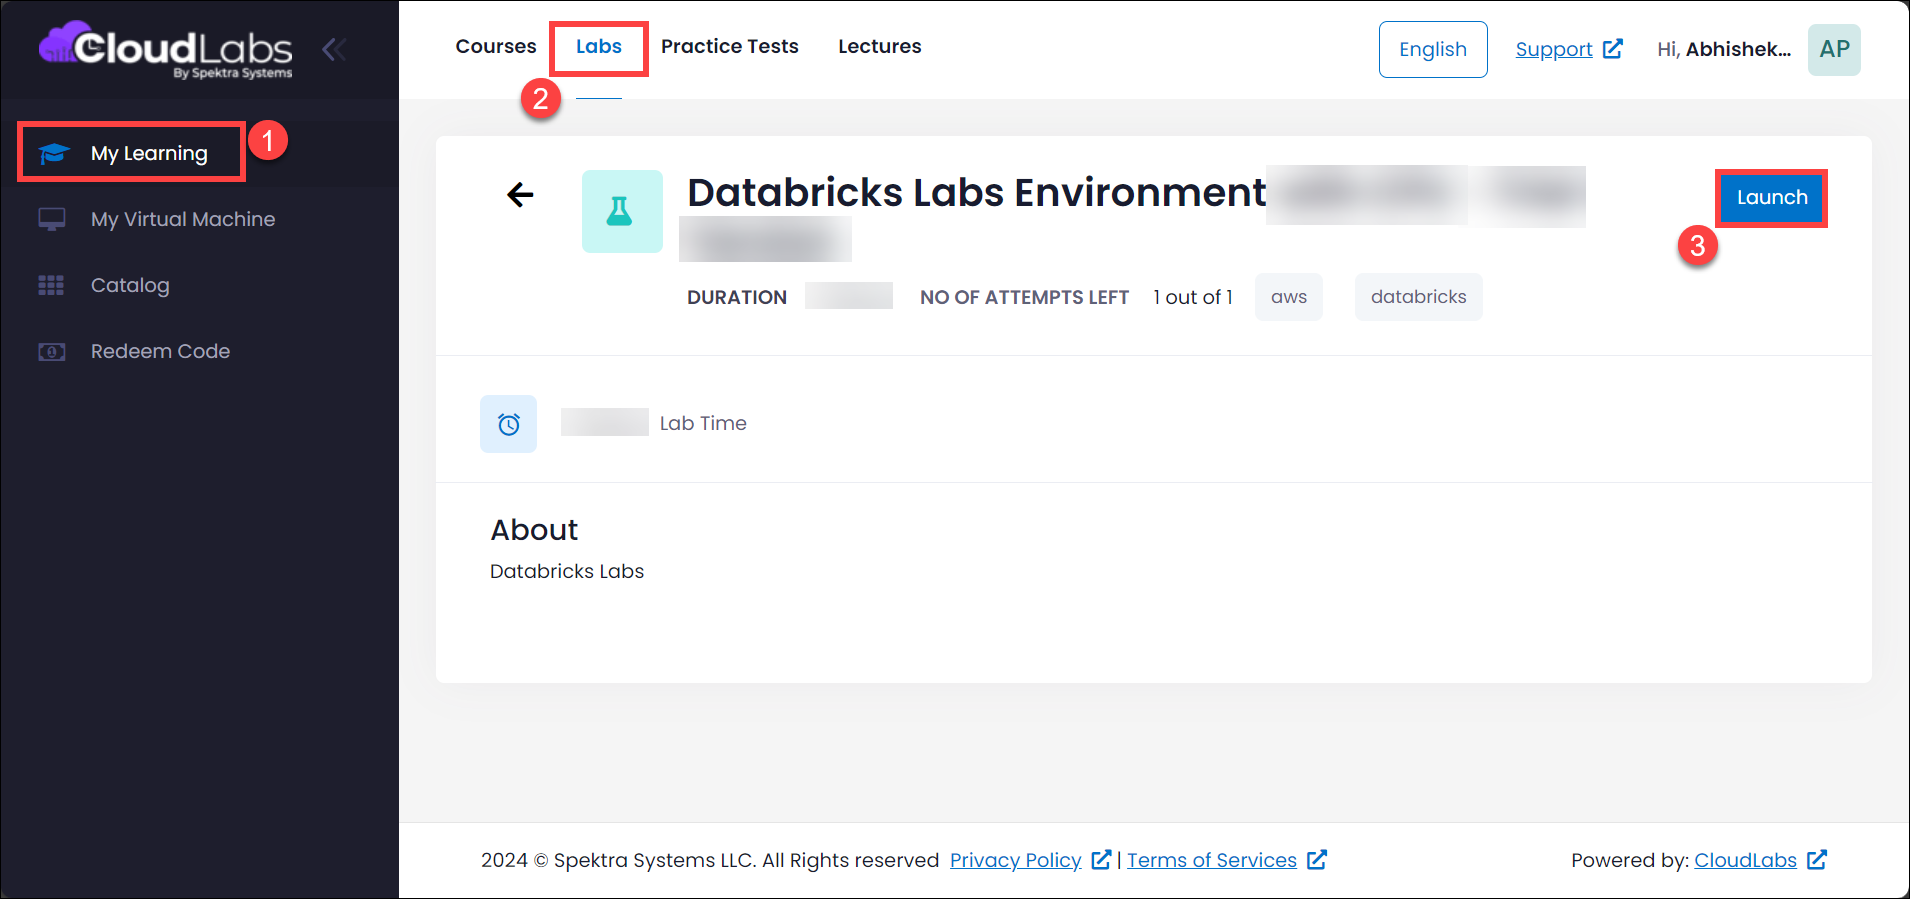
From the menu on the left, select the My Learning tab, and then click Labs. This is the screen where you will see your purchased Databricks Lab Environment and click Launch to activate your environment.
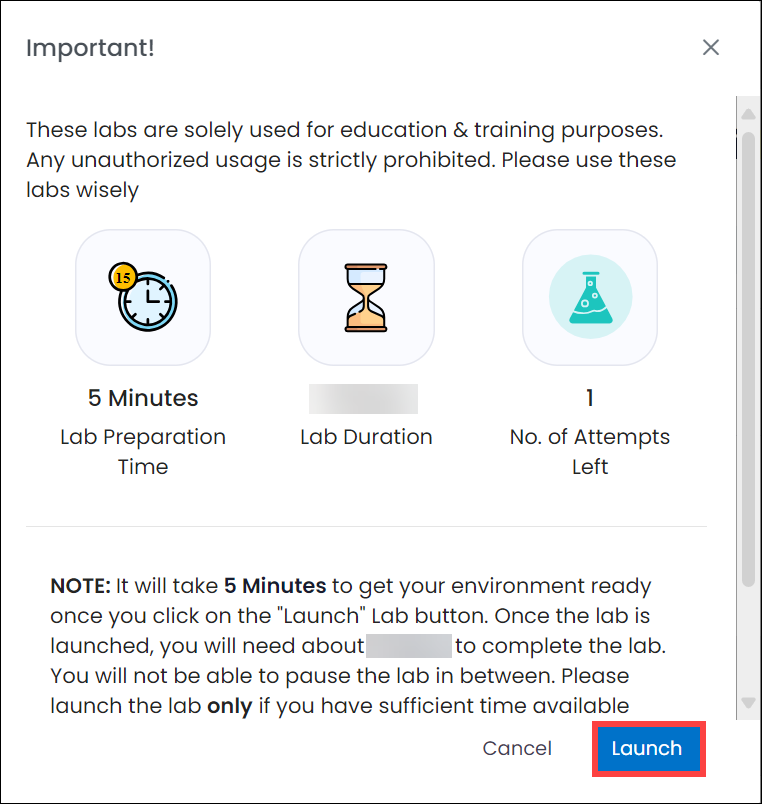
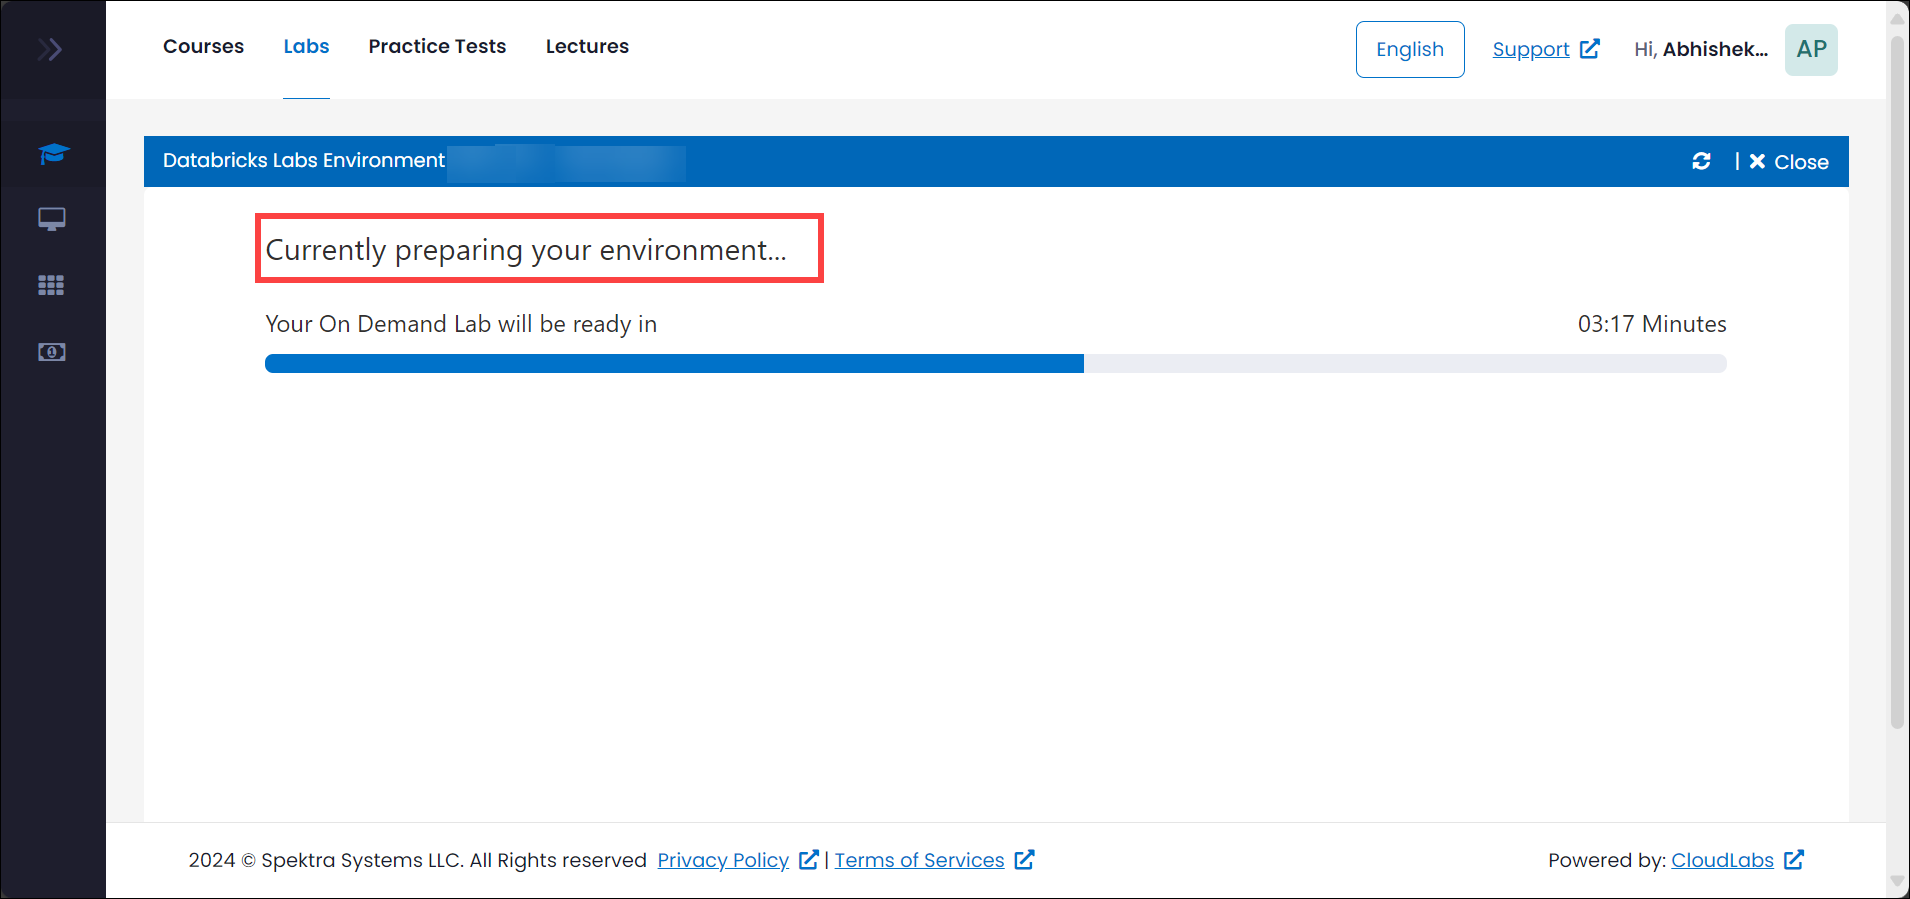
Upon clicking the Launch button, a popup window displaying the Lab duration and lab environment preparation time will appear. You can check the details and Launch it reviewing them.
You will be automatically logged into the Databricks workspace after the environment preparation, which could take up to five minutes.
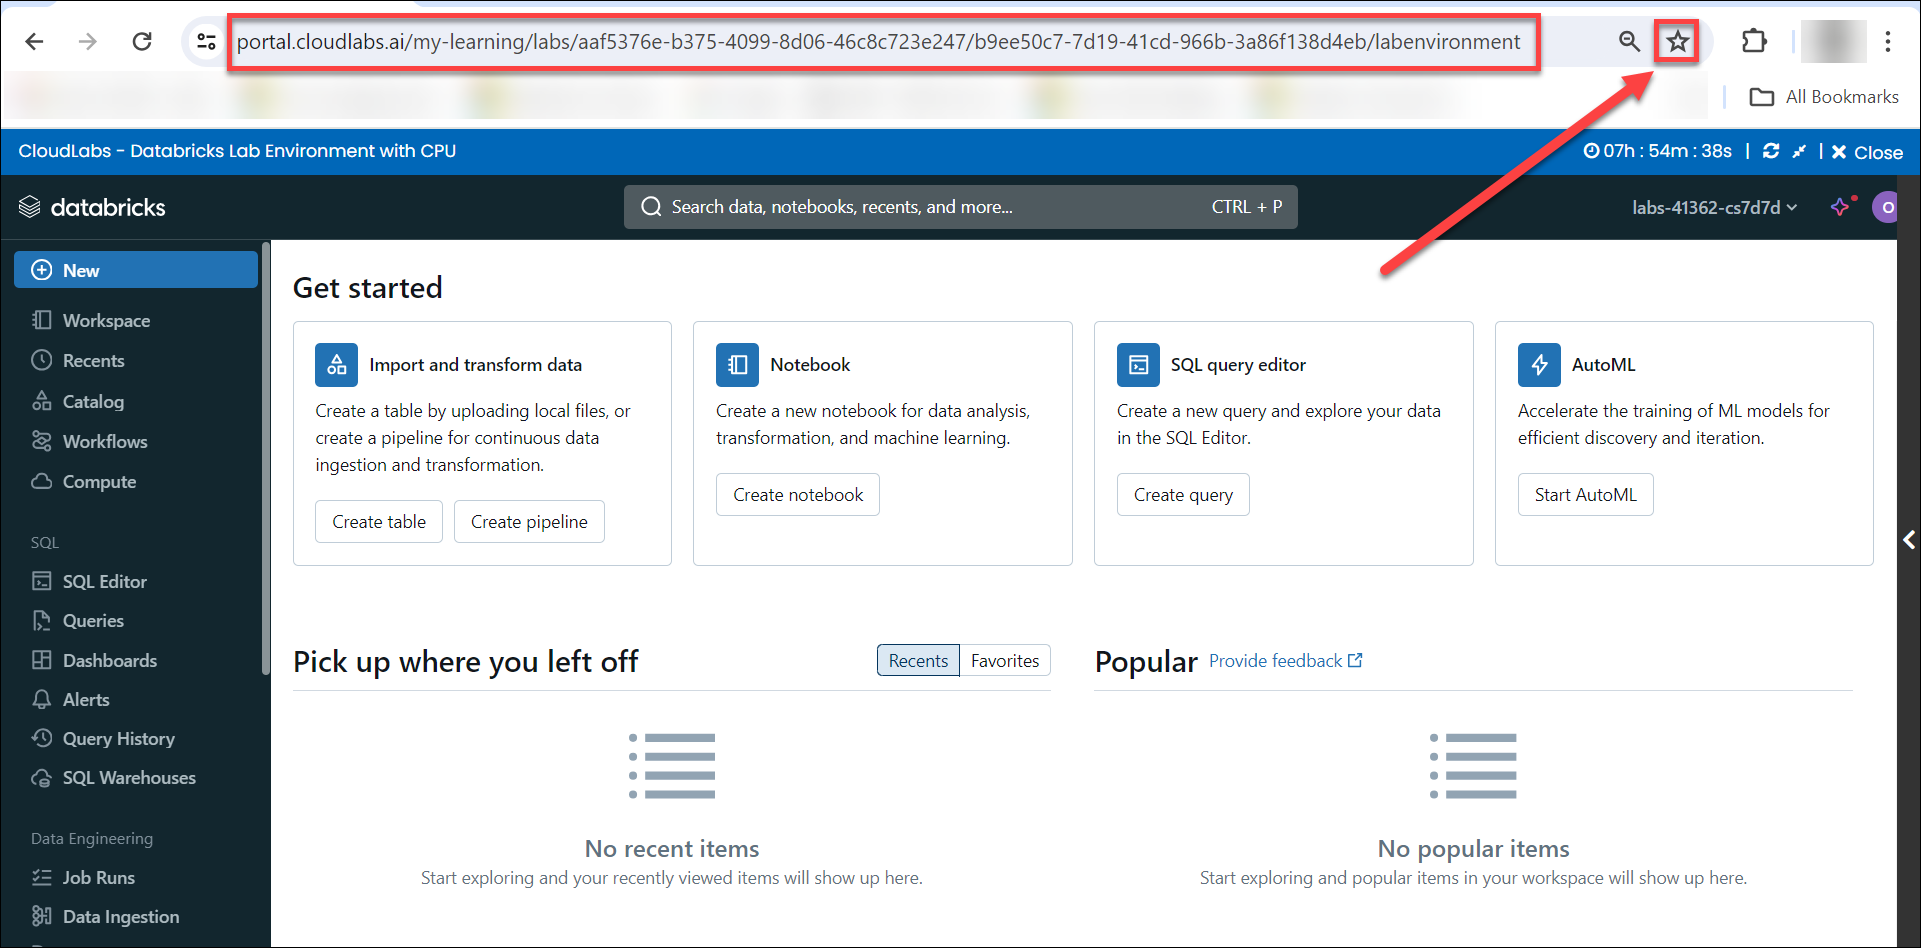
Note:- In order to access your environment for the upcoming sessions, you can Bookmark this URL. For use in the future, you can also copy and save this URL in notepad or another editor.
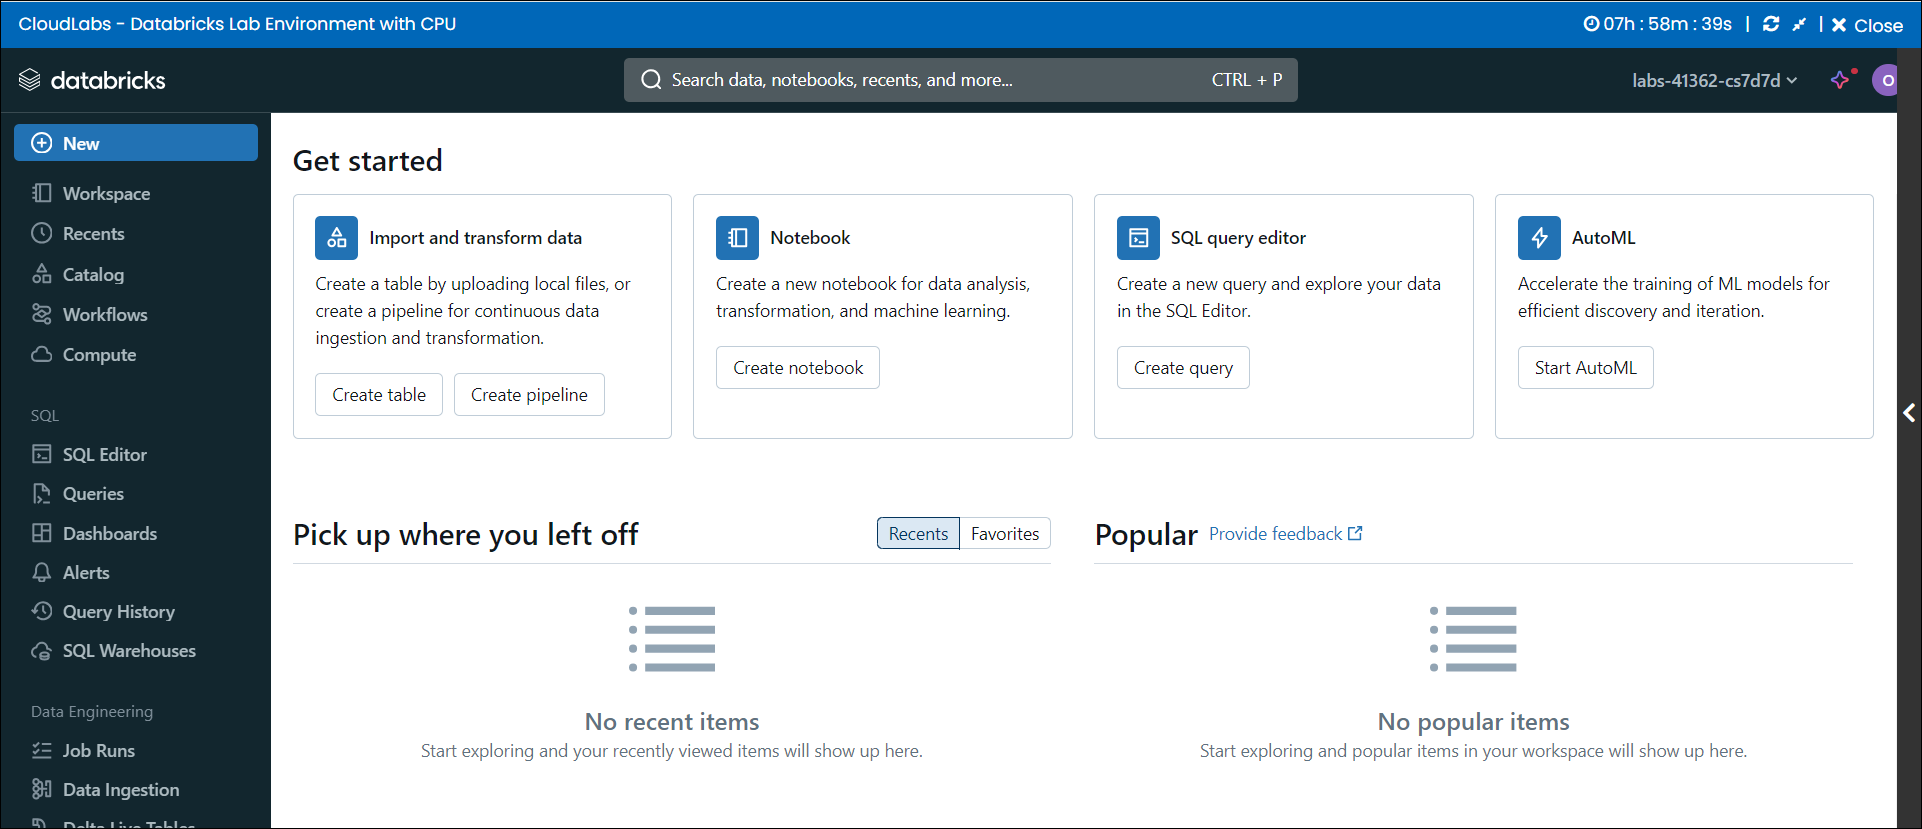
Your Databricks Lab Environment is now ready for use.
Resuming your Lab Environment Session in case if the current session has expired.
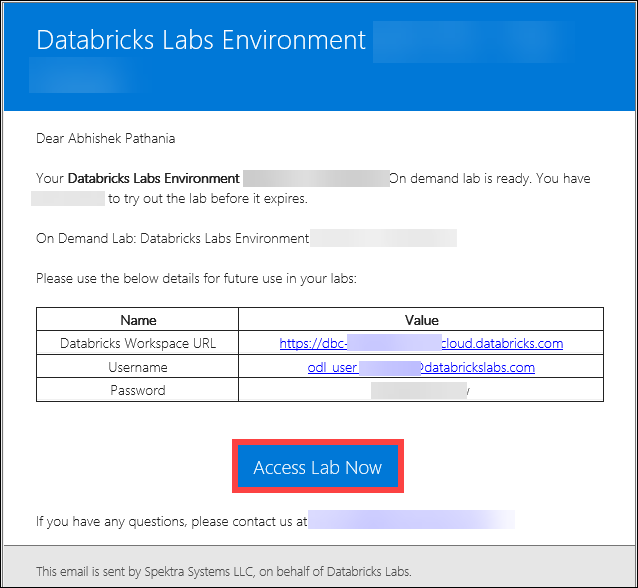
An email should have been sent to you; click the Access Lab Now link to open it from there.
OR
You can directly open the Bookmarked / saved URL which we showed in the preview steps.
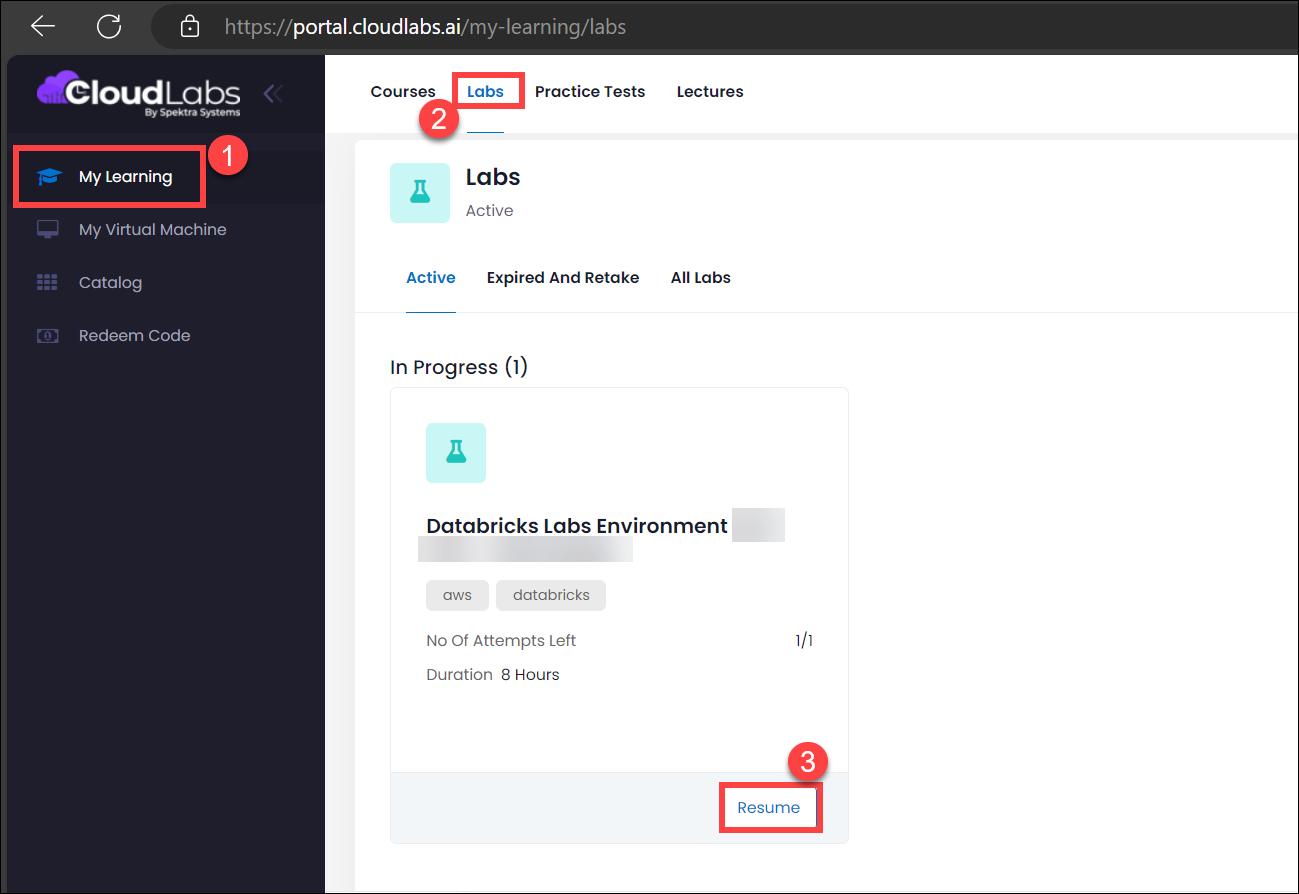
Note:- You will need to login to CloudLabs Portal http://portal.cloudlabs.ai/ if your existing session has expired. Then navigate to the My Learning tab from left menu, and click Labs. This is the screen where you will see your active Databricks Lab Environment and click Resume to get automatically login into the Databricks workspace.
Got Questions or Need Help? Please contact us at labs-support@spektrasystems.com