Add Safe Sender
Intermittently, emails sent from CloudLabs Support are received into junk/Spam folders. This section helps to understand how you can mark any sender’s email id as safe so that emails would get received into inbox instead of spam/junk folders.
How to add an email address as a safe sender in Outlook
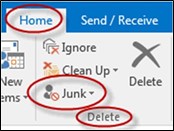
On the Ribbon click on the Home tab. Click on the Delete group and select Junk.
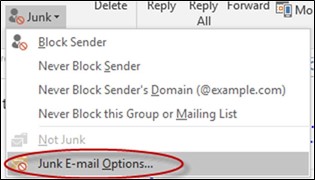
From the drop-down list, select the Junk E-mail Options.
Select the Safe Senders tab.

Click on Add.
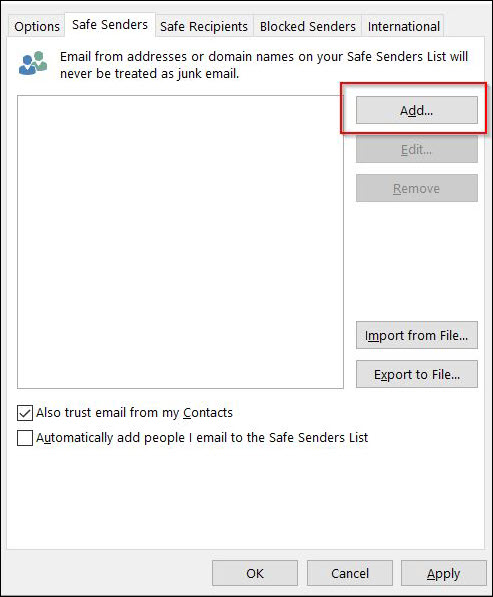
In the Add address or domain dialog box, type an email address. CloudLabs uses following email address for all automated notifications from the platform.
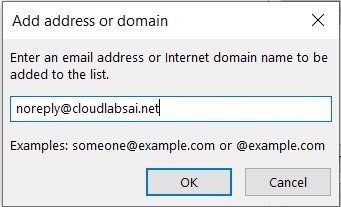
In addition to that, we also recommend adding following email address to safe sender.
cloudlabs-support@spektrasystems.com
labs-support@spektrasystems.com
In the Junk E-mail Options dialog box, click Apply to save your changes.
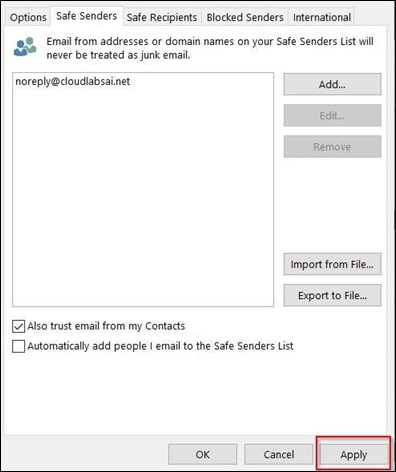
Note: Emails from this sender will now be prevented from automatically going to your Junk E-mail folder.
How to add an email address as a safe sender in Gmail
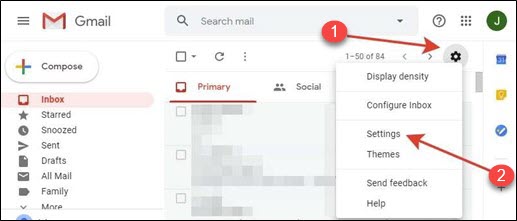
Click the gear icon (1) in the upper right corner.
Click on Settings (2) from the drop-down menu.
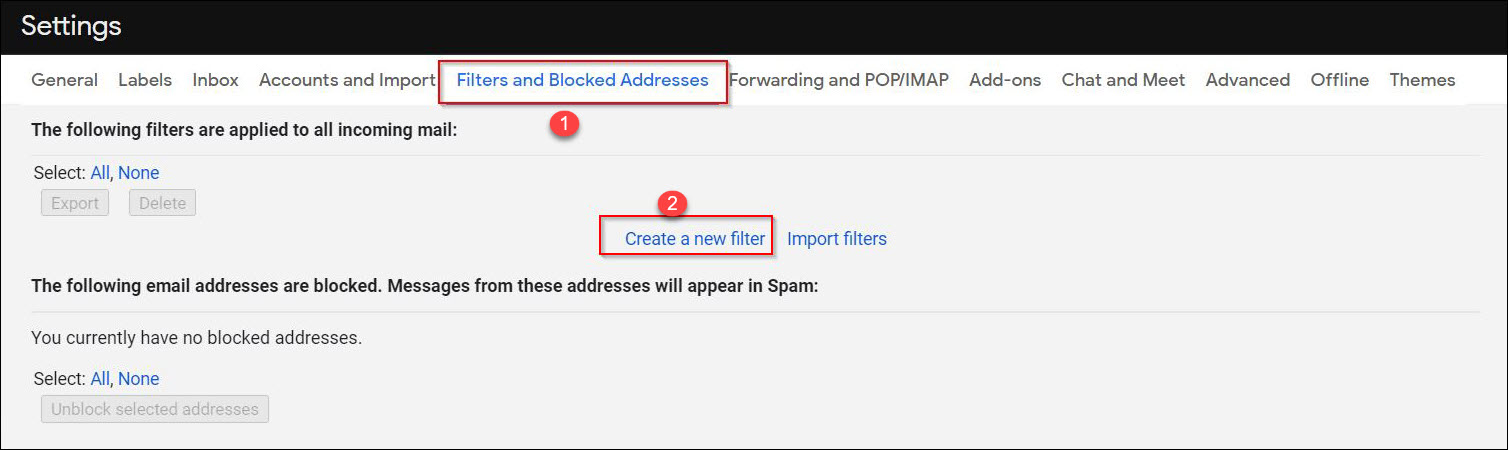
On the settings page, go to the Filters and blocked addresses tab, as highlighted below.
Click on Create a new filter button.
Here you can see the filtering options. Since we need to add the sender's email to the white list, we will fill in the From (1) field with the desired email id “noreply@cloudlabsai.net”. Leave the rest of the fields blank.
In addition to that, we also recommend adding following email address to safe senders list.
cloudlabs-support@spektrasystems.com
labs-support@spektrasystems.com
Click on Create filter (2) button.

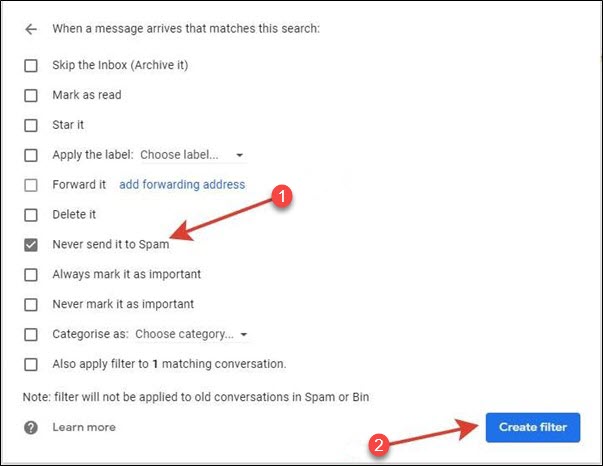
In the next section, select the action that will be applied to the filtered messages. Select the item Never send it to Spam (1).
Once done, click on Create filter (2)