Activate your Lab
Access the Sign up Details
To get access to the lab environment, you will need a signup link with a voucher or activation code. These details will be provided to you by your program contact or instructor. Use the provided lab activation details for registering to the workshop. In case you have not received the details, kindly contact your instructor.
Alternately, your instructor may directly invite you to access the lab over email. In that case, you will not need a signup link and codes. Your instructor will give you the required signup information.
Let's look at the step-by-step process to get access to CloudLabs. You can use your desired windows web browser, or Firefox to access the hands-on lab environments.
How to Sign Up
Once you have the Sign up details handy, follow below given steps to register. You can use your desired web browser or Firefox to access the hands-on lab environments.
Method 1: Using URL and Activation code
After you have received the Signup link and Activation Code from your instructor, open the URL on a new web browser session and you will be directed to the CloudLabs registration page.
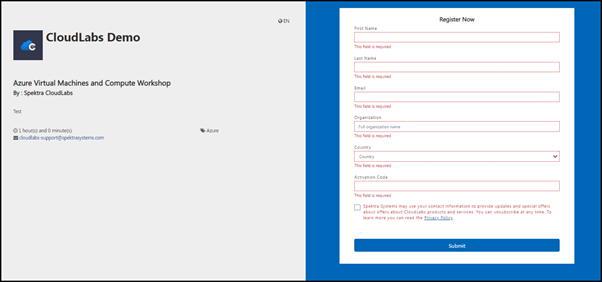
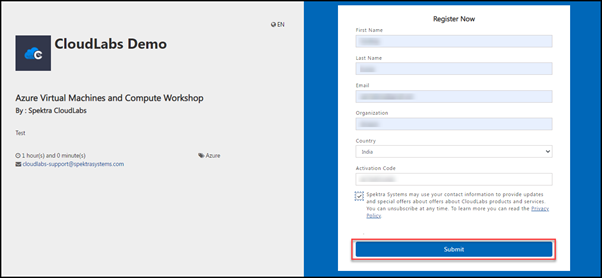
Please fill in all the mandatory details in the respective fields. Accept the privacy policy, and click on the Submit button once ready:
Method 2: Using Invite Link
In case your instructor chooses to directly invite you to the lab without requiring you to signup manually, you will receive an email from noreply@cloudlabsai.net containing the Launch Lab link. You can directly access the Lab environment by clicking on the Launch Lab button.
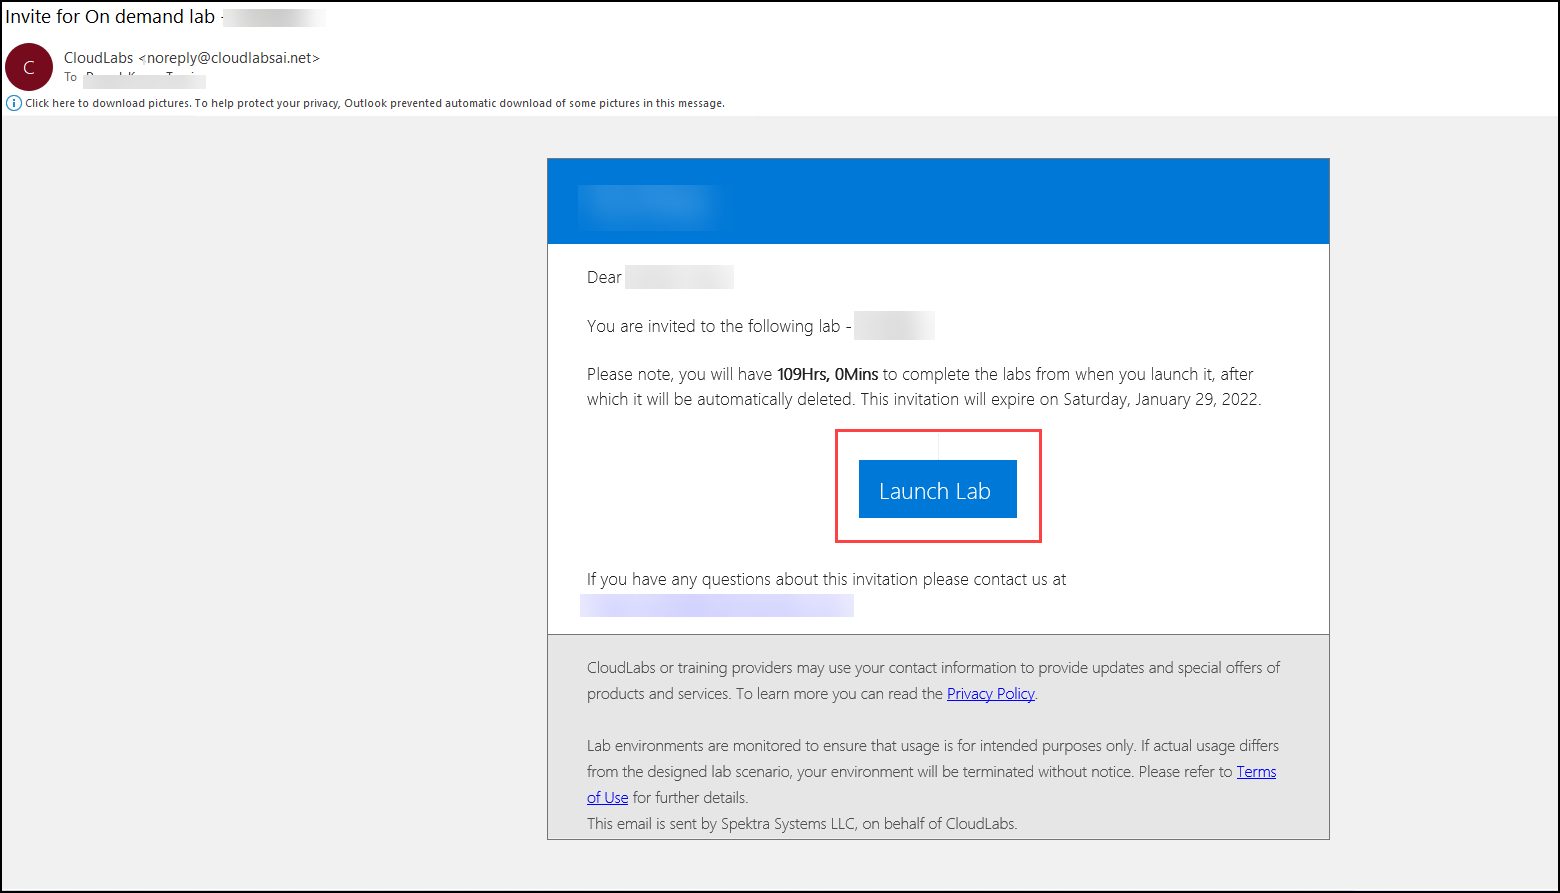
Note: Please check the SPAM/JUNK folder in case you cannot find the email from noreply@cloudlabsai.net.
How to Launch the Lab
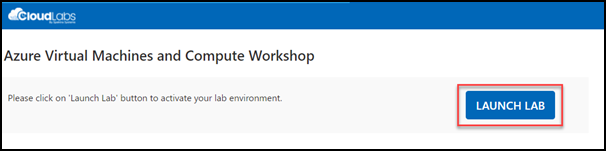
Once you have successfully registered using one of the above methods, you will be redirected to the Launch Lab page. Please click on the LAUNCH LAB button to access your Lab environment. Do note, your lab timer will start as soon as you launch the lab. So, if you plan to launch the lab at a later time, you can bookmark this URL and launch it later.

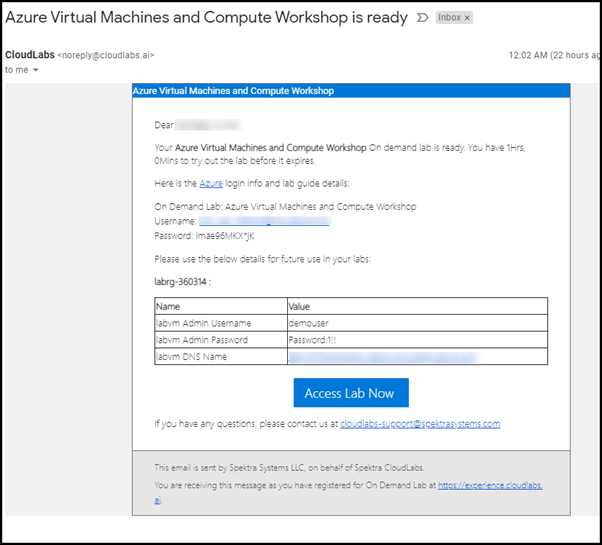
Next, open your registered email account and look for an email from noreply@cloudlabsai.net. All user credentials to access the lab environment will be provided in this email along with a Unique lab URL. By clicking on Access Lab Now, you can access the lab anytime. If you lose connection to the Lab environment, you can start it back up by clicking on the Access Lab Now button.
Launching Lab
You need to click the Launch Lab button to access the lab environment. The Status of the User environment should update from Approved> Deploying> Succeeded state. [If you see a failure state, you can reach out to CloudLabs Support].
Note: After completing the lab, your lab environment will get auto-deleted and you can proceed with the remaining Modules from the Cluster.
Note: Please check the SPAM/JUNK folder in case you cannot find the email from noreply@cloudlabsai.net.
Once you Access Lab, the environment will load up in the web-browser. This screen typically contains the Virtual Machine (JumpVM) on the left side and the Lab Guide on the right side. In some of the workshops, you may not see a JumpVM being loaded, in that case, you should use your machine to complete the lab exercise as JumpVM may not be necessary to complete that workshop.
You are now ready to start using the lab. Please keep an eye on the lab timer, as the environment will auto-delete once the timer runs out. Deleted environments cannot be recovered.
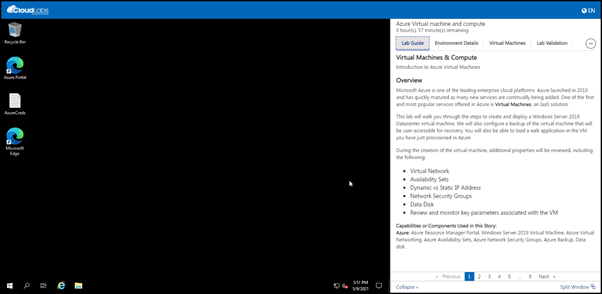
Note: You can also choose the Split Window or the Collapse options to detach or shrink down the Lab details section. This gives you a larger on-screen space for the JumpVM to work on.